4 Common Mistakes to Avoid in Adventure Photography
Whether you are an avid adventurer or a tour operator, I am sure that you appreciate the value of great pictures to tell the story of your outdoor adventures. We all love to look at inspiring content online, and now more than ever visual media attracts the attention of people all over the world. There are some simple rules that if you follow, you can avoid making mistakes in your adventure photography and make sure that after a day spent outdoors, you return home with pictures that you are proud to share with the world. So without further ado, here is what to look out for when you are documenting your escapades in nature.
1. Poor composition
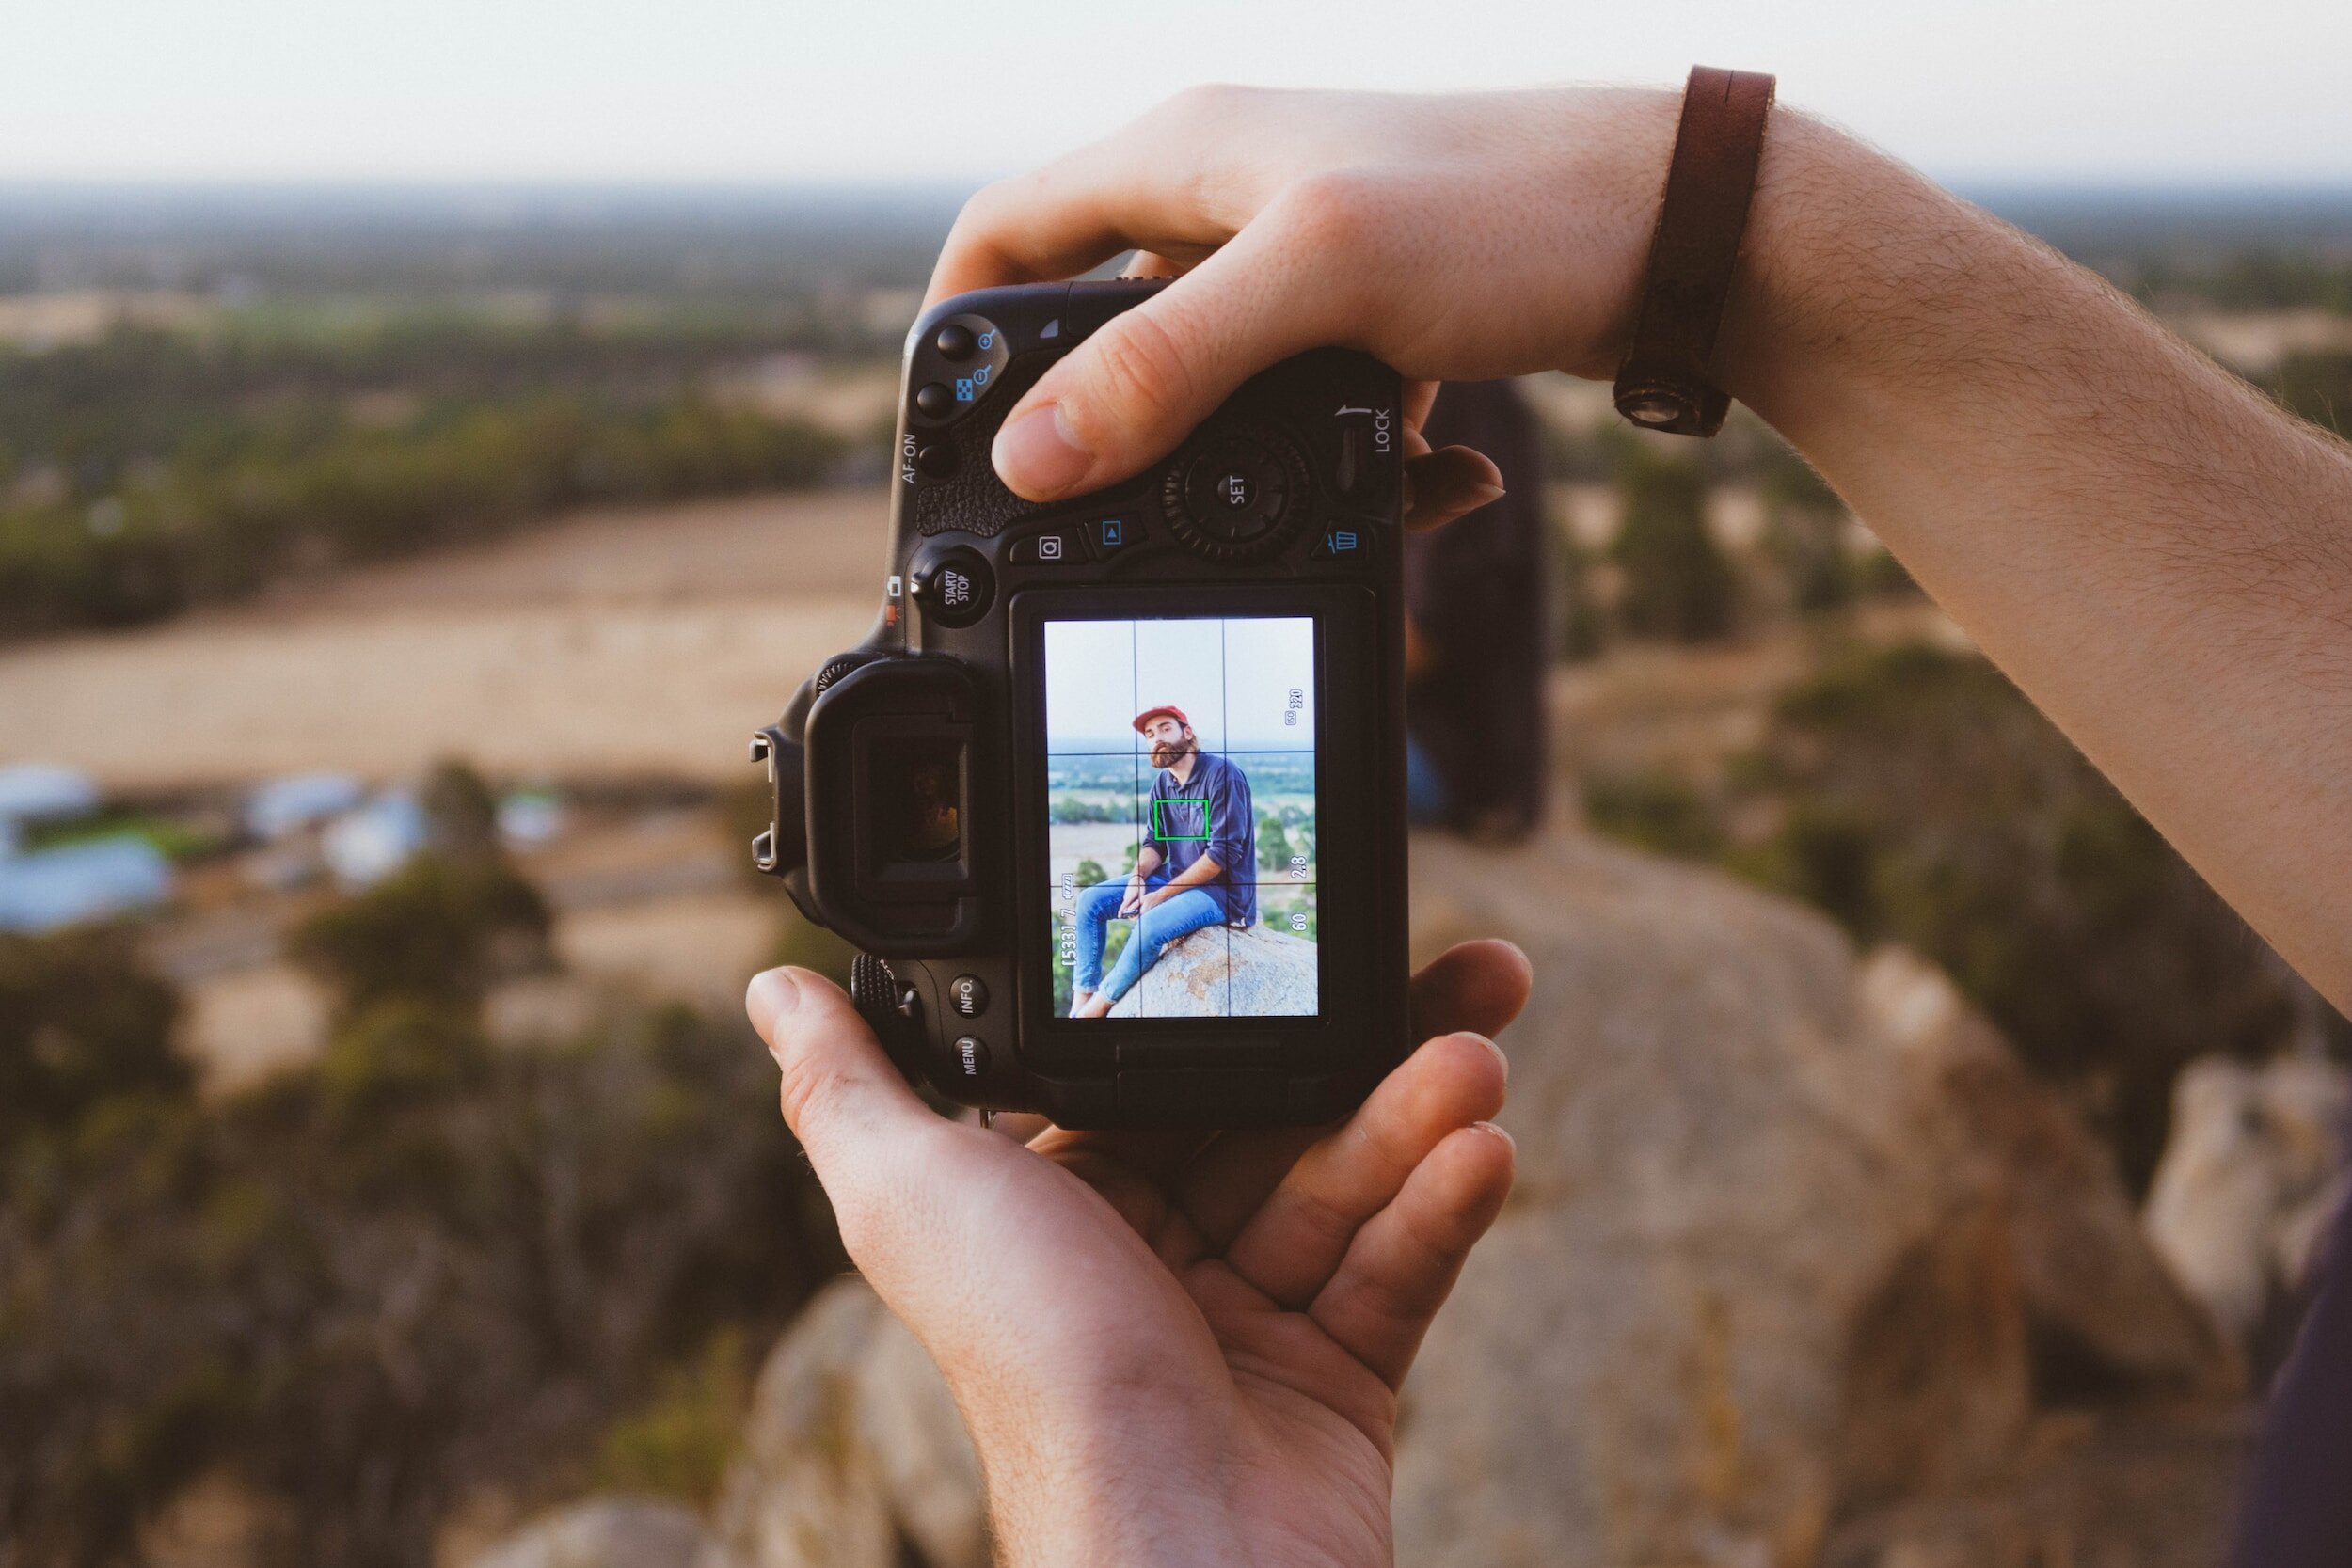
Image source: Unsplash
Composition is not an extremely difficult concept to master in photography but it can make or break your photograph. I would recommend that you take some time to familiarize yourself with some of the basic concepts, such as the rule of thirds, leading lines, and background and foreground elements among others. Always make sure to leave enough space around your main subject when you photograph them. It is easier to crop around a subject in post-production which creates space that you didn’t include when you took the picture. You can experiment with different angles and perspectives when taking pictures and see what works best after. Never walk away from a worthy subject with just one point of view or one way of composing unless you are absolutely certain in your abilities or time only allows you to snap that one shot before the scene changes.
2. Incorrect Exposure

Image credit: Stephen Arnold via Unsplash
This setting mainly concerns people using their camera in semi-or full manual mode, but I think everyone can benefit from knowing about correct exposure. One of the easiest ways to ruin a photograph outdoors is to under- or overexpose it, which will result in images that are too dark or completely burnt out. This can happen most often in scenarios where there is a lot of contrast, such as the darkness of the woods and the brightness of a cloudy-white sky. To avoid this problem, I would recommend that you learn about manipulating the manual settings in your camera, such as the aperture size, shutter speed and ISO. Digital cameras these days come with an in-built light meter that you can use to harmonize all these settings until you get the ideal exposure triangle numbers (aperture, shutter speed, ISO). As with most things in life, practice makes perfect, so experiment with the different settings, take practice shots and compare the results to see how they affect the final image.
3. Blurry Images
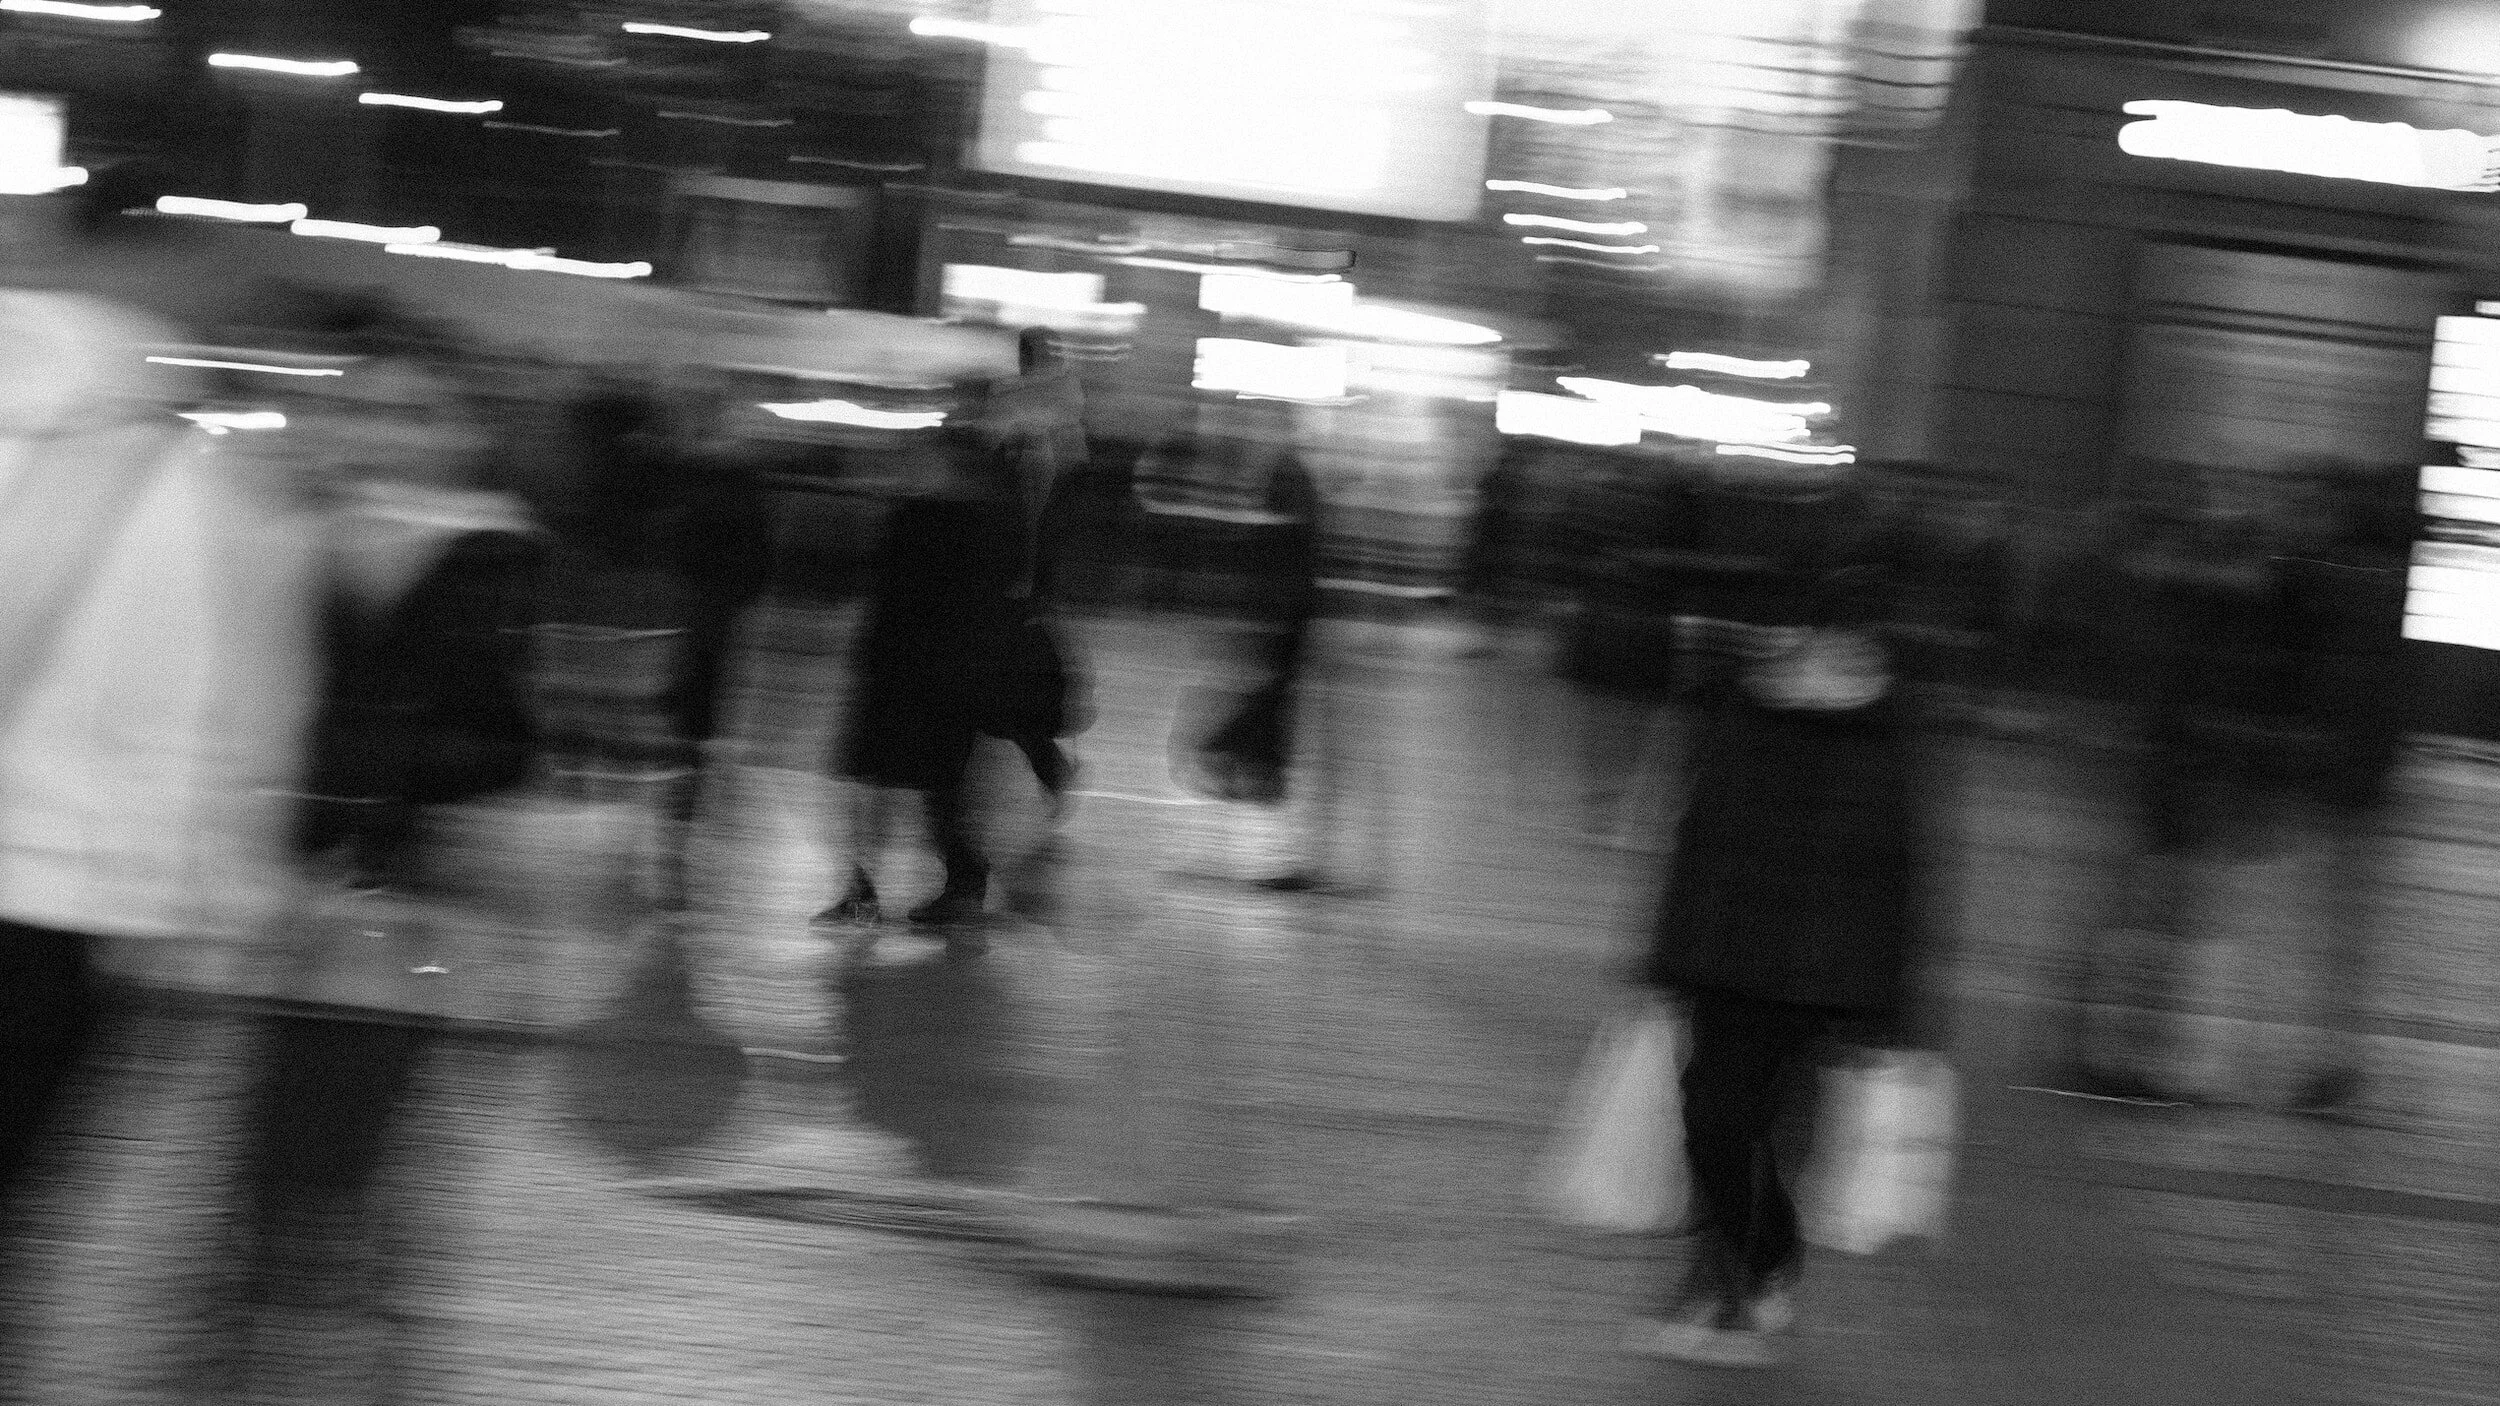
Image source: Unsplash
This is another common issue faced when photographing a highly changeable outdoor environment. Maybe it’s you who is on the move while trying to snap pictures or it is your subject. One way or another, there are a couple of ways you can avoid blurry pictures during the shoot. The most obvious is setting a high shutter speed which is the best way to freeze motion and avoid blur. You will need to compensate for this by opening the aperture and raising the ISO, but you have to tread lightly, as these settings can also lead to blurry or out-of-focus images if overdone.
If you are photographing a moving subject, I would recommend changing the focus settings to dynamic, which will allow you to track the subject with the camera and automatically refocus on what you set the focus on originally. Another tool that can help you avoid blurry images is a tripod. However, I understand that that is not always possible when things are happening fast. If you consider all these and still end up with a blurry picture that you absolutely need or love, not all is lost. You can still sharpen your image to a degree in post-production and if you shoot in RAW, your range of possibilities will be considerably higher.
4. Lacking Post-Processing

Image source: Unsplash
As much as post-processing can save an imperfect photo, if overdone, it can ruin a perfectly good one as well. Make sure to exercise moderation when touching up your images. Most commonly you’ll find colors that are over-saturated or pictures that are sharpened to the degree that you lose the sense of reality of the subject matter (unless done on purpose with artistic intention). Not correcting exposure or white balance can also negatively affect the final image. To avoid these mistakes, take time to learn some basic editing techniques and use them to exercise judgment and ask for feedback on the results. I wrote about the importance of post-processing in adventure photography here.
I hope these tips help you improve your adventure photography skills and avoid some common mistakes! If you have any experiences or tools that you would like to share, I would be happy to hear about them in the comments.